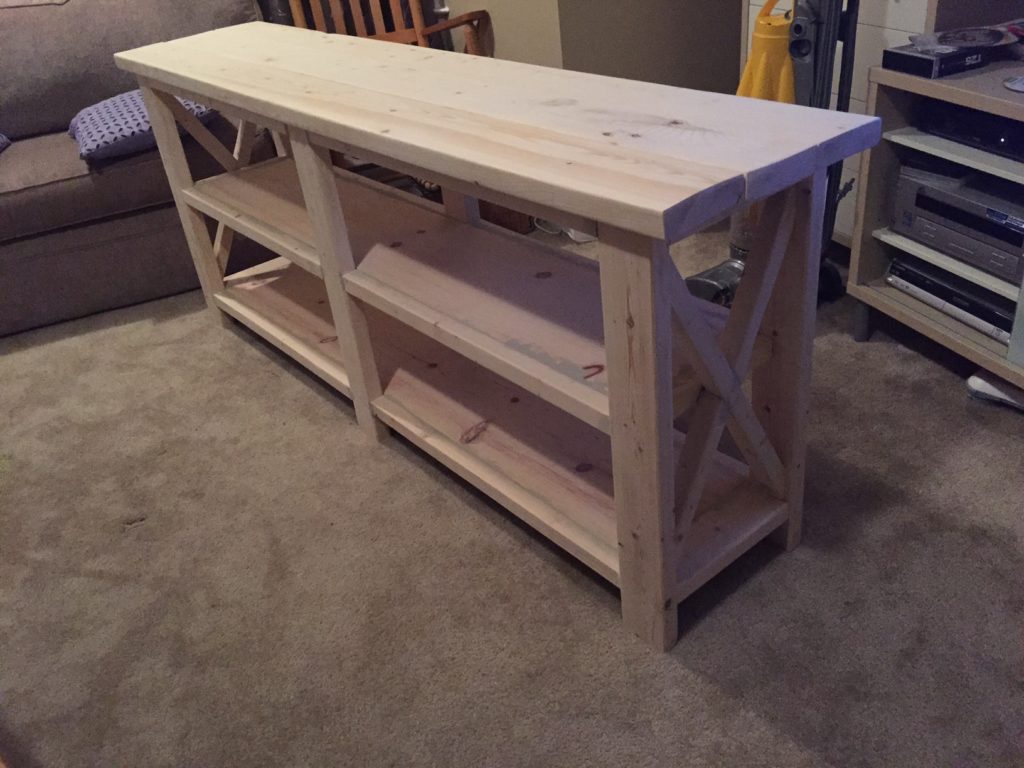
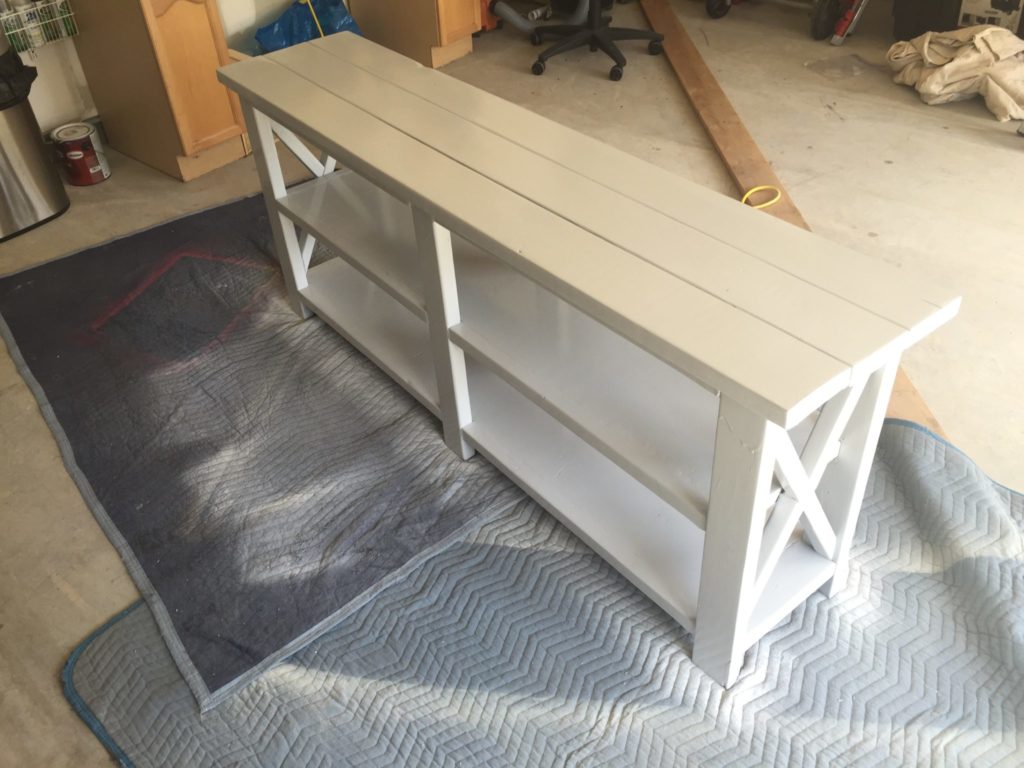
Hello everyone! Today we wanted to show you one of our first builds. When our house was being built we lived with Carl’s parents for 10 months, we then decided to start building our own furniture in their garage. Thank goodness they love us cause we built up a storm. haha Below we will share with you how Carl and I built our Rustic Console Table.
So let’s get down to business, to start we searched and found our plans from Ana White, if you’re not following her blog and Pinterest page do yourself a favor and start!! We love working from her plans because they are clear and well written. She does a great job of making beautiful furniture and providing plans that break each step down into simple steps. Her plans will give even the greenest builder confidence to tackle a project.

Tools needed:
- Safety glasses
- Clamps
- Tape measure
- Speed Square
- Drill or impact driver
- Kreg pocket hole plugs
- Sander
- Kreg Jig
- Miter saw
- Wood filler
Optional Tools:
- Biscuit Joiner
- Hand held planer
- Kreg pocket hole plugs
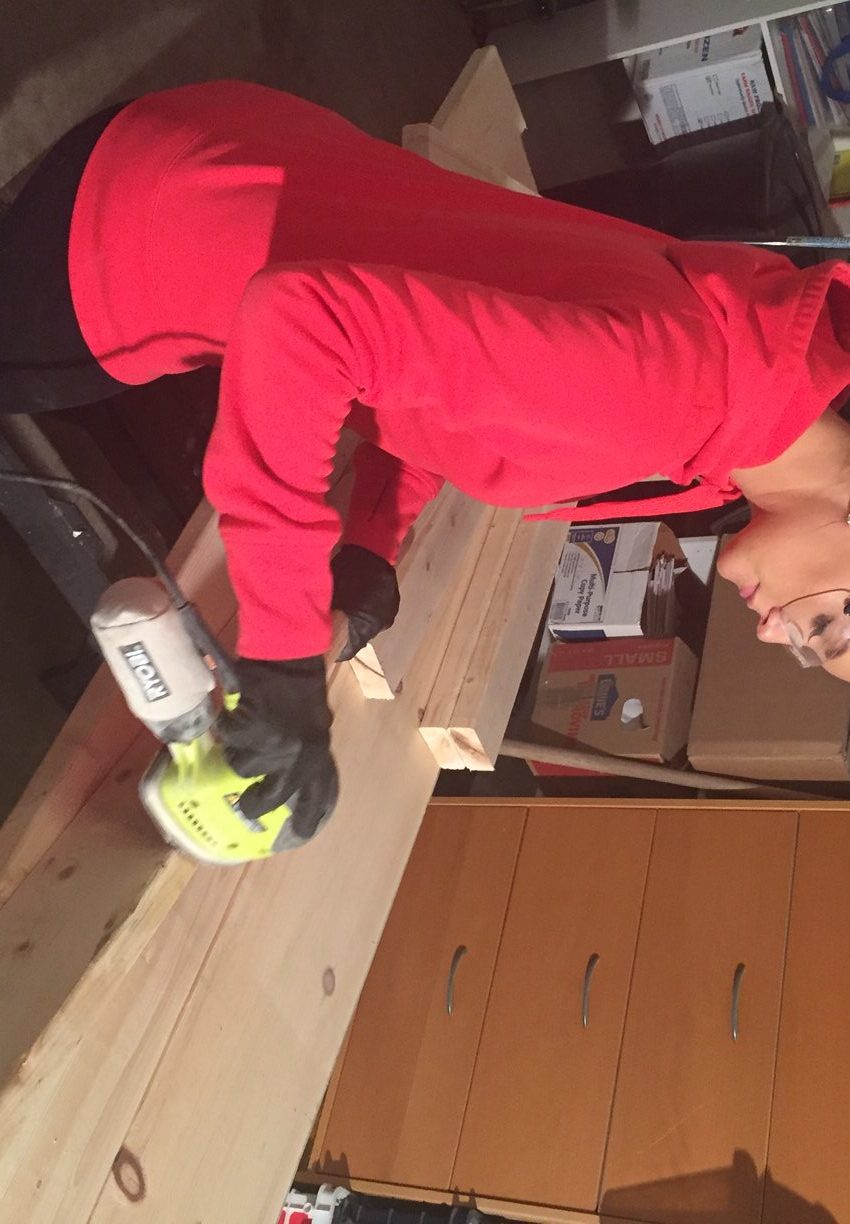
Review all steps in Ana’s plans prior to beginning to be sure you have what you need and understand the process. Measure all cuts and use your speed square to be sure they are accurate and visible. It is best to get yourself in the habit of cutting just to the side of your line to be sure you are not shortening your measurements which could lead to a wobbly table. After making our cuts we prefer to sand the pieces next to avoid having to sand in tight and awkward places. After sanding is complete (ugh) the fun begins, we can start assembling!!

Break out your Kreg Jig and drill and get ready for your piece to start taking shape. A few key points with your Kreg Jig, first it is important to measure each piece of wood prior to setting your depth. When you buy wood from a store or lumber yard you are buying it in its “nominal width” this is what its called ie 2×4 or a 1×2 ect. This is the width that it was when it was first cut at the lumber yard. It is important to know that wood shrinks over time as the moisture from within evaporates making the actual width of 2×4 1 and a half by 3 and a half. The actual numbers are important when using your Kreg Jig and they can vary slightly between each board (especially after sanding or planing). Once you have measure the actual width of your board you can set your jig to the corresponding height. Next you will loosen the depth collar on the drill bit and place it in the cut out on jig to and set it to the corresponding depth as well (note set the drill bit collar to allow the wider part of the drill to line up with the proper depth). The Kreg Jig is now set so you can be sure you are getting a strong joint without the risk of driving your screw through the sides of your wood.

When joining two pieces of wood you should always use wood glue as well the screws, wood glue is significantly strengthens your joints while the screw hold everything together while the glue dries. Making joints without glue will lead to loose joints over time, believe me you want glue on every possible joint. It is also best to clamp the two pieces together to keep them from moving while securing the screw.

When making the table top it sometimes gets tough to keep everything perfectly flat, this is where the optional tools could come in to make things easier. If you have a biscuit joiner this will make aligning your boards a breeze. A biscuit joiner creates small cutouts on each board then when paired with the biscuits it aligns your pieces perfectly. Again it’s not needed but will make things go much smoother. If you happen to have a handheld planer you can use it to plane the edges of each board to be sure they fit together perfectly without a gap to create a smooth flat table top.

As with anything, perfecting a new skill comes with a considerable learning curve so looking back at this project highlights some of the things we could have done to improve our new piece. Even despite these small changes we would have like to make we are still thrilled with how our new piece turned out and we receive many compliments on it when we visitors have come by.


Aside from saving boatloads of money and getting the perfect piece in the perfect color for your home, making your own furniture provides you with great conversation during dinner parties or friendly visits. Good luck in building!! Please share your questions and your new creations!
Carl Morris & Tonya Michelle


I love love love this. Sending this post to my hubby now. It’s being added to my Christmas list!